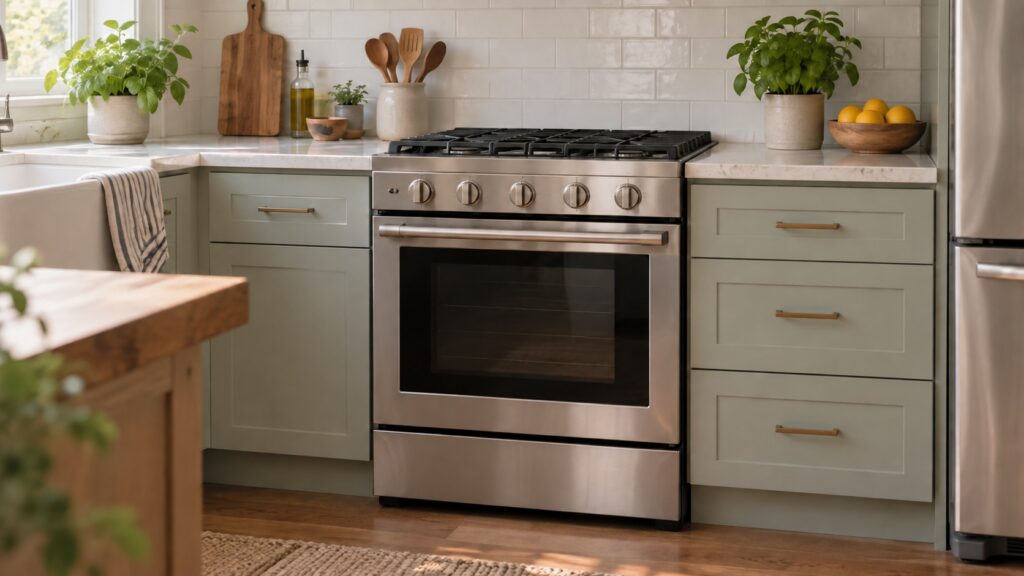
Bosch range installation looks like the simplest appliance job in the kitchen — slide it into the gap, connect it, done. It is simple only when the gap, the supply and the floor were prepared for it. Everything that goes wrong afterwards, from a door that will not open past the island to an oven that never quite bakes level, was decided before the range arrived.
The opening, and the three ways it is measured wrong
A 30-inch range needs a 30-inch opening, and cabinet runs are rarely exactly what the drawing said. Measure at the front, at the back and at the height the range body will actually occupy — a run that is square at the toe kick can be out by a quarter inch at counter height. Measure the height from the finished floor, because a new tile or an added underlayment eats the clearance a slide-in range needs to sit level with the counter.
Depth is the measurement most often skipped. A range that is deeper than the base cabinets stands proud, which is expected on a freestanding model and jarring on a slide-in. Where the counter has an overhang, work from the front edge of the counter rather than the cabinet face.
Gas, electric, dual fuel — settle it before ordering
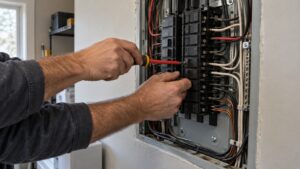
These are three different appliances with three different supply requirements, and the decision is not reversible on site. A gas range needs a gas line, a shutoff a person can reach without pulling the appliance out, a flexible connector long enough to let it come forward for service, and a grounded outlet for the ignition and controls. An electric range needs a dedicated circuit of the right rating and the correct receptacle. A dual fuel range needs both.
- Natural gas or propane is decided at order time. Conversion needs the correct orifice kit and a qualified technician — it is not a setting.
- The shutoff valve belongs where it can be reached, not behind the range.
- Leak test at commissioning, with solution and never with a flame. Any smell of gas afterwards means leaving the checks alone and calling the utility.
- Do not reuse an old flexible connector. They are a one-installation part.
The anti-tip bracket is the part people skip
A freestanding range is heavier at the back than the front, and an open door with a loaded roasting pan on it is a lever. The anti-tip bracket screws to the floor or the wall and catches a foot or the rear of the range if it starts to lift. It costs nothing, it takes five minutes, and it is the one part of this job that has hurt people.
Fit it, then test it: with the range in place, pull gently forward at the top. It should not move. If the floor is tile over a slab and screwing down is awkward, the wall-mounted version exists for exactly that reason.
Leveling, and why an oven bakes unevenly
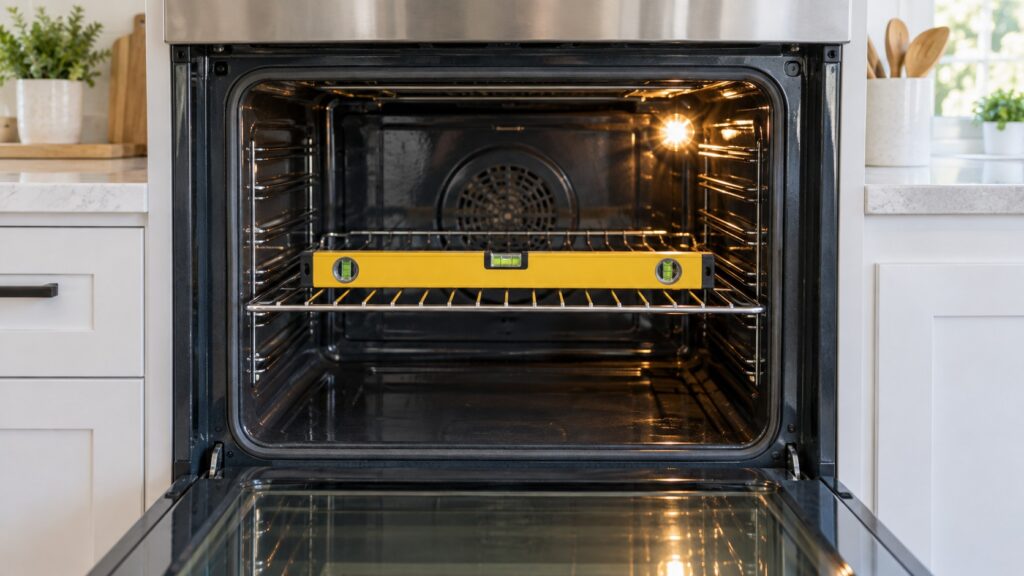
A range is leveled with adjustable feet, and the level that matters is the oven cavity rather than the cooktop. Set a spirit level on the middle oven rack, front to back and side to side, and adjust from there. A cooktop that looks level on a counter that is not will leave the oven out by enough to pool a cake batter at one edge.
Check it again after the range is loaded and after any flooring work nearby. If an oven that used to bake evenly has started to drift, level is the first thing to rule out before anything electronic — and our calibration guide covers the next step.
Clearances, and what lives beside the range
Side clearance to a combustible surface is specified by the model and is not a suggestion. A wooden cabinet end directly against a gas range will scorch over years even if nothing ever catches. Above, the clearance to the hood or to an upper cabinet is set by the range and by the hood together, and the smaller of the two numbers wins.
Ventilation is sized against the total output of the burners and the length and shape of the duct run, not against the width of the appliance. Every elbow costs airflow and a long run through a joist space can halve the number printed on the hood box. Our range hood venting guide covers the duct side.
Getting it into the room without damage
A range is heavy, awkward and unforgiving of the floor it travels across. Take the oven door off if the model allows it — most do, with a hinge lock — and the appliance becomes both lighter and far easier to grip. Take the grates and burner caps off a gas model and box them together so nothing is refitted to the wrong burner; crowns are not always interchangeable between burner sizes, and one on the wrong base gives a flame that looks nearly right and never simmers.
Protect the floor. Hardwood and vinyl both mark under a steel foot, and a sheet of hardboard costs nothing. Slide the range on the board rather than on its feet, and make the final position adjustment by walking it, not by dragging a loaded appliance sideways.
Commissioning, and when to call
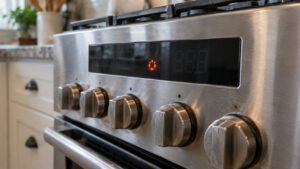
A correct installation ends with checks, not with the last screw. Every burner lights within a couple of seconds from cold, with a blue stable flame that holds a low simmer. The oven reaches its set point and holds it. The door closes squarely and seals along its whole length. Nothing rocks when you lean on a corner.
We are an independent repair company, not an installer, so we have nothing to sell you on this job. What we see is the aftermath: ranges that were never leveled, anti-tip brackets still in the box, and hoods that were sized by width. If your range is in and something is not right, Bosch range repair starts with a diagnostic visit and we confirm the estimate before any work begins. You can schedule a visit online, and the oven error code archive covers what a display is telling you.